This guide provides an introduction to the partner portal and its host of new features, including adding sub domains and custom logos, allowing you to add additional layers of white label branding to a myhrtoolkit system.
The first step is to contact myhrtoolkit to request your partner login details. These give access to the customer management area via the same login link as the standard myhrtoolkit system.
If you forget your password, you can reset it using the normal password reset method. If you experience any issues with the process, contact our support desk.
Configuring your account is completed in two steps:
On logging in, the first screen shown is the main Dashboard with a Navigation bar on the left hand side. This shows a list of your clients and gives you a brief overview of their information. This includes:
You can also search for clients by name and specify the number of clients shown per page.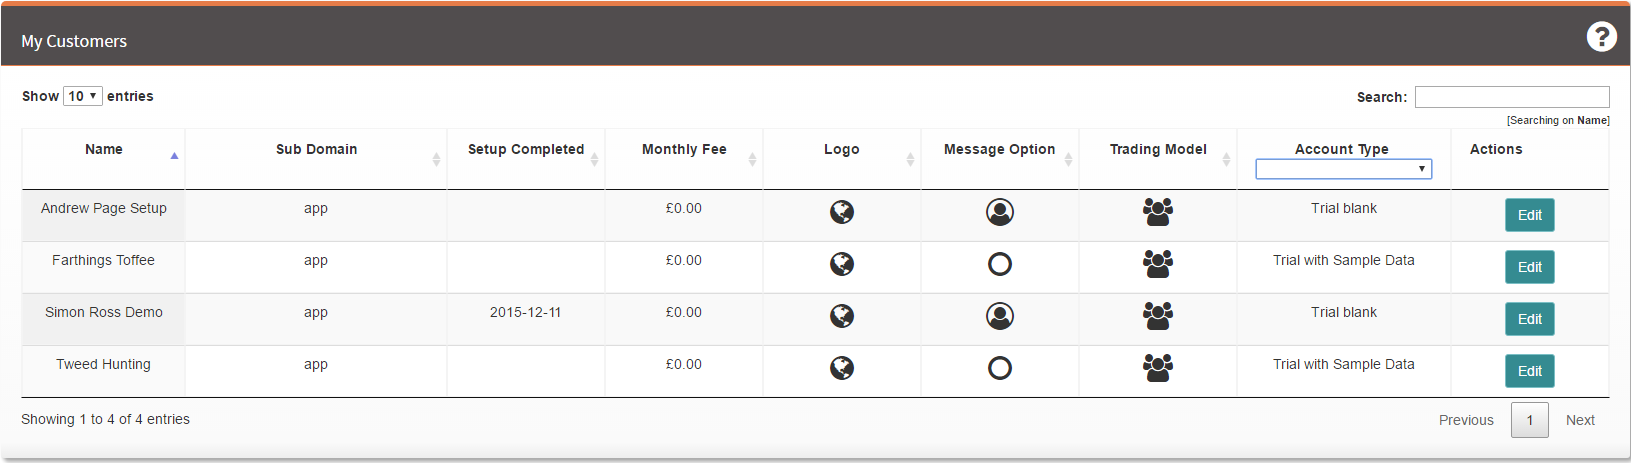
Using the screen below, you can fill in information about yourself and the company.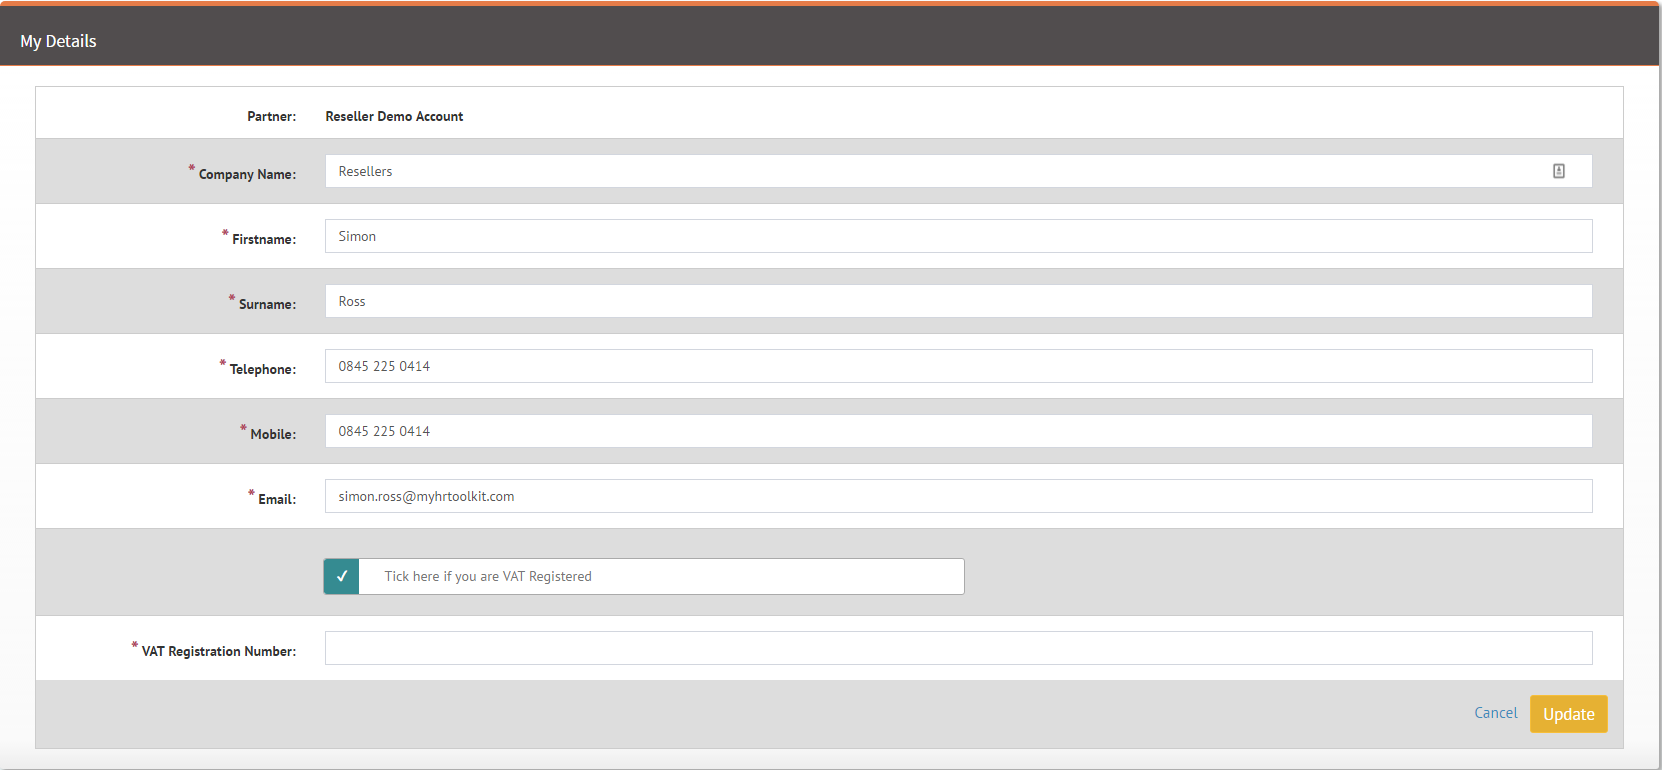
This page allows you to add your own branding to be displayed to all your customers.
The standard sub domain is “app.myhrtoolkit.com”.
Ticking the box allows you to add the sub domain (web address/ URL) that you would like your customers to use to access their system, for example: partnername.myhrtoolkit.com
Note – Once allocated a custom sub domain, customers can only use that sub domain to log on. If a user attempts to login via an incorrect sub domain, the system will inform them they’re not authorised to log into that sub domain.You will be advised if your choice is already in use.
Select the logo you would like your customers to see in the application and emails: the default myhrtoolkit, your company logo or your customers own logo.
Note – If you need to upload a logo, you can do this via the shaded area at the top of the page. Later in this guide you will learn how to make changes to individual customers. Changing the Global settings here will not affect these changes.
You can opt for a banner message to appear at the top of each page. It can be customised to suit your needs.
Start by choosing to whom you want your message to be visible. You can then enter your desired message, style it, insert links and then post.
To customise an individual customer’s myhrtoolkit system, first return to the main Dashboard. At the end of each row is an ‘Edit’ button (under the Actions column).
Selecting this presents the ‘Edit Customer’ screen below, where a customer can be modified individually.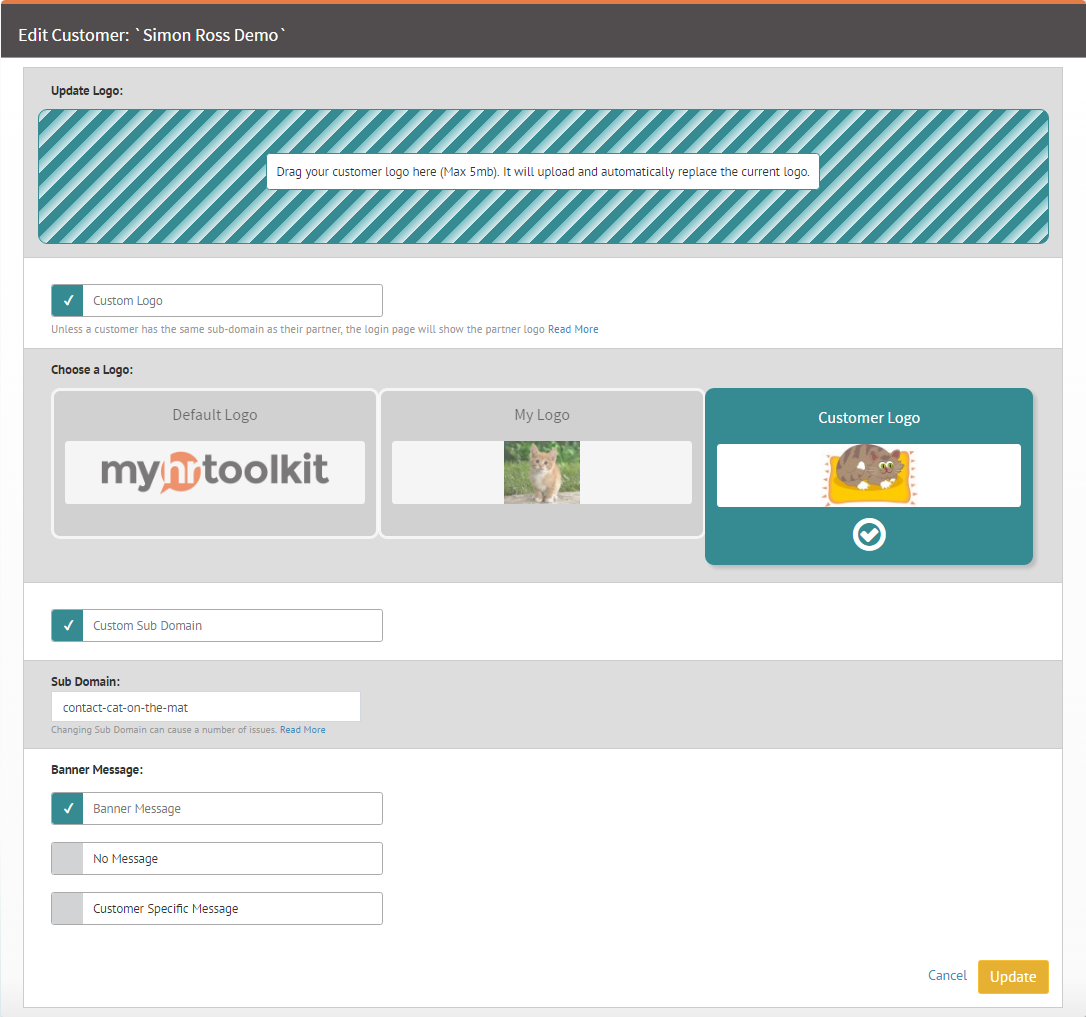
The ‘Edit Customer’ page offers the following features:
When ticked, you can set a client-specific sub domain to be used by a single customer.
Note – Only users from that client can log into their sub domain. If a user from a different client tries logging in, the system will inform them they’re not authorised to log into that sub domain.
Here you can choose if a single customer’s system and emails should show a different logo to the default.
Note – If you need to upload the client’s logo, you can click the shaded banner at the top and select a file from your machine; or you can drag and drop an image to upload.
Image file size must be smaller than 5mb and be in one of the following formats:
The banner message defaults to your own (if you have already created one). You can, however, choose to show a customer-specific message or no message at all.

 Holiday Planner
 Absence Management
 Performance Management
 Staff Management
 Document Management
 Reporting
 Health and Safety Management
 Task Management
 Security Centre
 Self Service
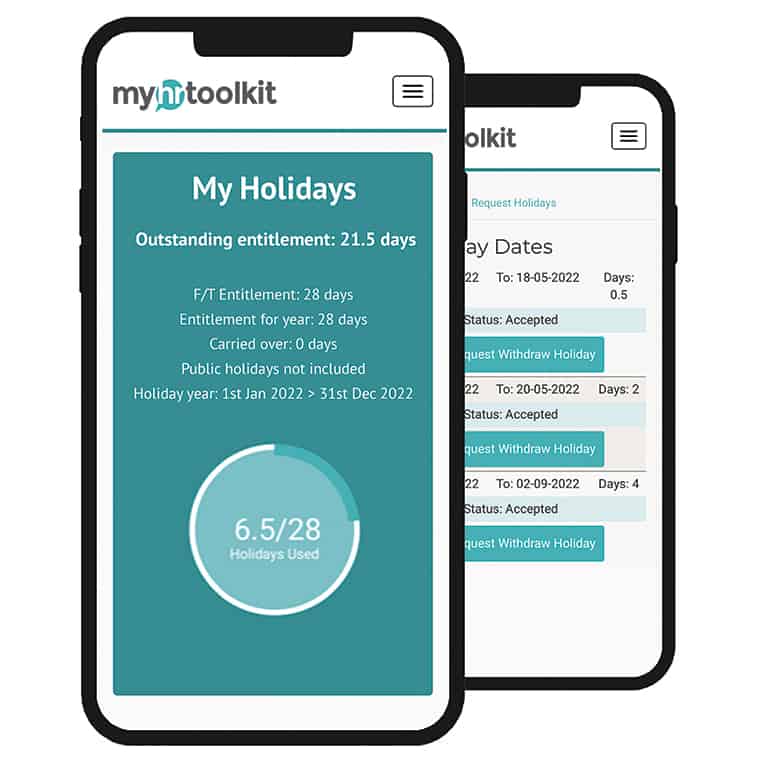 Mobile