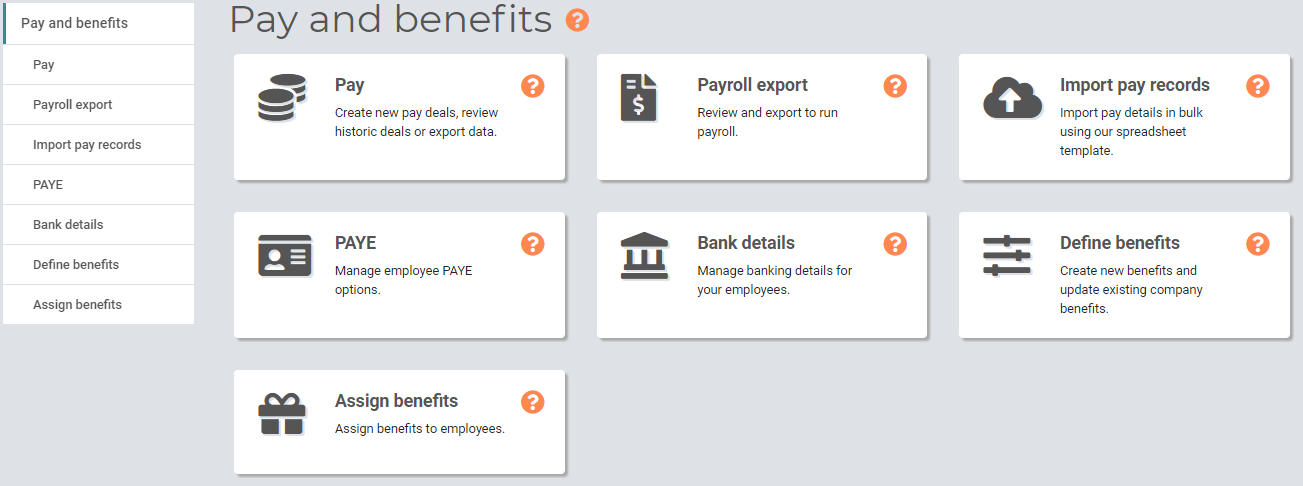
The Pay and Benefits module in myhrtoolkit is administered via the Pay and Benefits button on the Management toolbar.
To access the module, it can be found via Management > Pay and benefits. From there, there are sub-pages covering Pay, the importing and exporting of records, PAYE, bank details, and the definition and assignation of benefits.
The Pay page shows the current pay deal for each employee (employees without pay records don't show up in this list).
The dataset is filterable using the drop-down lists at the top of the page, and the number of records shown can be configured as required.

Documents and Notes can be added against each employee's pay deal using the buttons on the right. The Actions button opens a menu for each employee, which allows new pay deals to be added, existing deals to be edited, and older deals to be deleted.
Alongside the specific entries per employee, the Pay offers some functionality for import/export and bulk updating of pay deals.
As with other myhrtoolkit import functions, this is a simple process where a template spreadsheet is downloaded, containing pre-populated information; that spreadsheet is then filled in with the required pay information and is finally uploaded back into myhrtoolkit

There is a choice of downloading either a file containing all employees, or a file of just those without any pay information. The structure of both files is the same.
After downloading a template file, click the Next > button for a page of instructions about how to fill in the spreadsheet, formats, which columns are editable, optional, etc.
When the template file is filled in, either click through to the next page, or if returning to upload use the Skip to upload file > button on the first step.
Use the Upload file button to select the file. On processing the file, a confirmation page shows a subset of the new data, and if this appears to be correct click the Confirm and import button.
To use the payroll export function, use the dropdown selectors at the top of the page to filter the dataset down to the records required, then click the Export button on the right. You may be prompted to provide a filename and location, and a CSV file will be generated and saved.
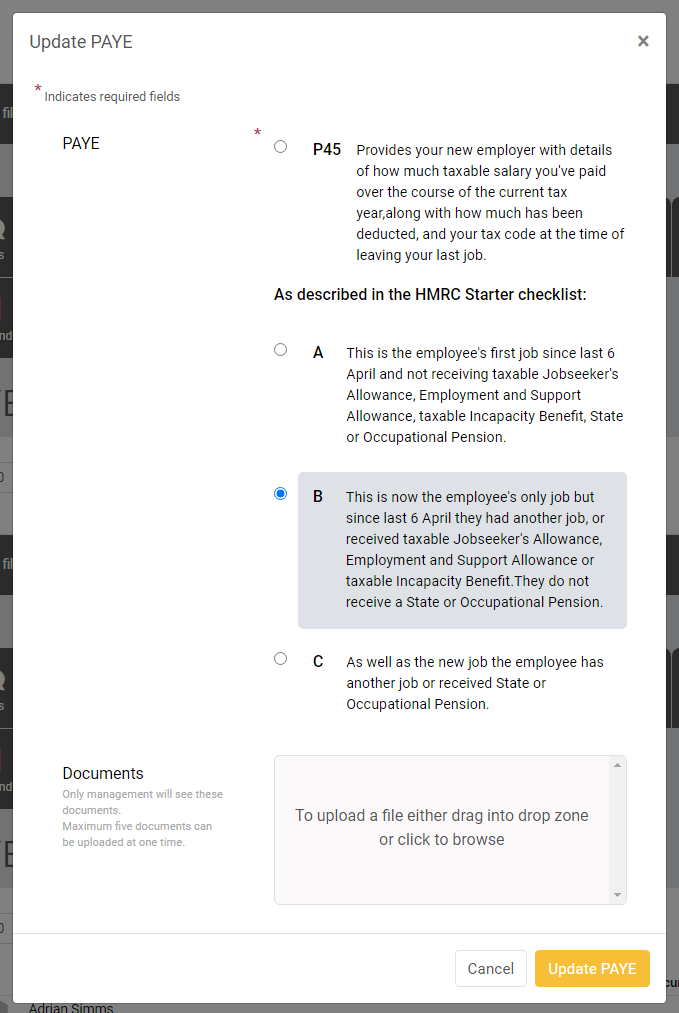
The PAYE page shows the details held about each employee where a PAYE record has been assigned. If there are employees for whom a record hasn’t been assigned, they will not appear in the table. These missing records can be assigned using the Bulk assign PAYE button.
Myhrtoolkit conforms to the latest PAYE classifications used by HMRC in the UK. For guidance about classifications, please consult HMRC or an accountant.
In myhrtoolkit, PAYE records hold the HMRC classification, and any additional documents you may wish to assign to an individual employee's record.
Updating or deleting records is done using the Actions buttons on the right of an employee's row.
If a large number of employees need to have their records updated, it may be convenient to use the Bulk assign PAYE button on the top right.
Bulk assign is a three stage process:
By default, for security and privacy, bank details are obfuscated. Individual details may be revealed using the eye icon in the relevant row. The details can be hidden again by a further click.
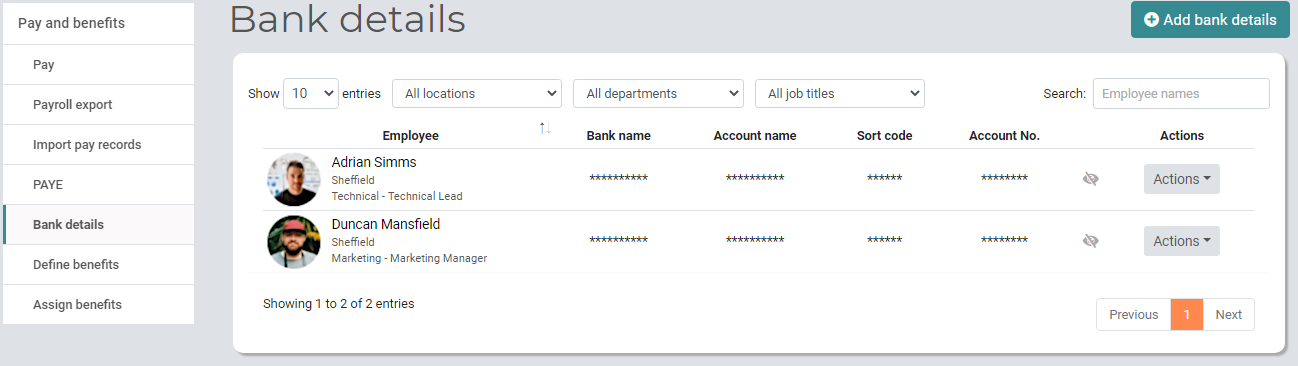
Using the Add bank details button in the top right of the page will open a two-step process of selecting an employee then inputting their bank details. This new information will then be added to the employee's record.
By clicking the Actions button on the right-hand side of an employee’s row and selecting ‘Edit bank details’, the employee’s bank details can be updated as required.
Details can also be deleted by pressing the Actions button and selecting Delete bank details.
This page is only accessible to Controllers. The Define benefits page shows the existing benefits registered. Employee and management documents for each benefit can be viewed, benefits edited, and the recipients of the benefit seen.
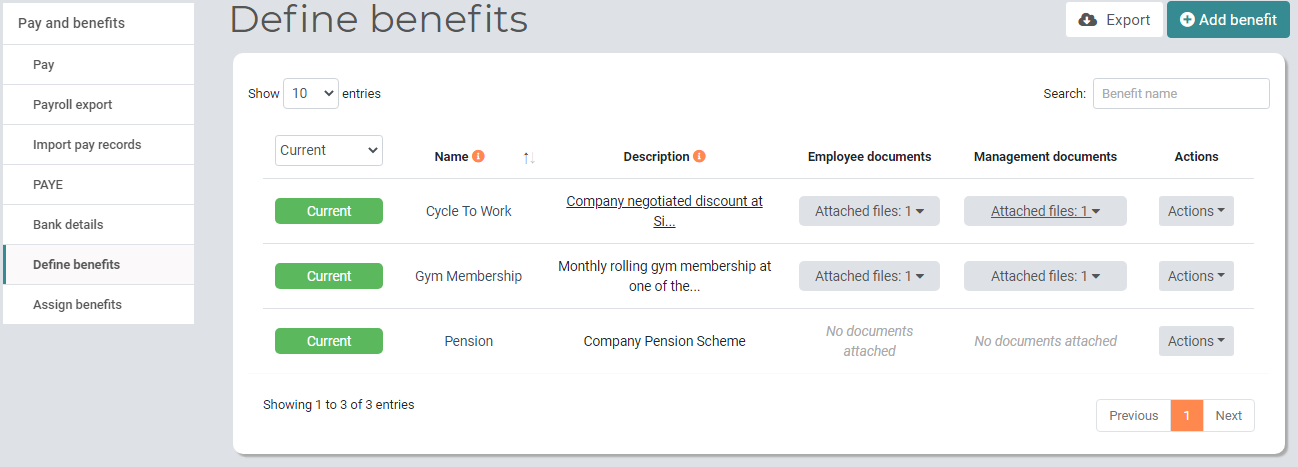
From left to right, a benefit's row shows
Click Add benefit in the top right of the page, this will open the new benefit page.
Upon filling in the title and description, and adding files as needed, click the Add benefit button in the bottom right of this page. The new benefit will appear alongside the existing benefits on the main page.
The pop-up menu of available actions changes depending on whether a benefit has any employees assigned to it.
If the benefit has employees assigned to it, the menu options are:
If the benefit has nobody assigned to it, an additional fourth action is available, allowing you to delete the benefit, removing it from the system
The Assign benefits page shows employees, the benefits assigned to them, and an Actions option for editing assignments. The view is filterable, by standard myhrtoolkit dropdown menus of Location, Department, etc., but also by Benefit.
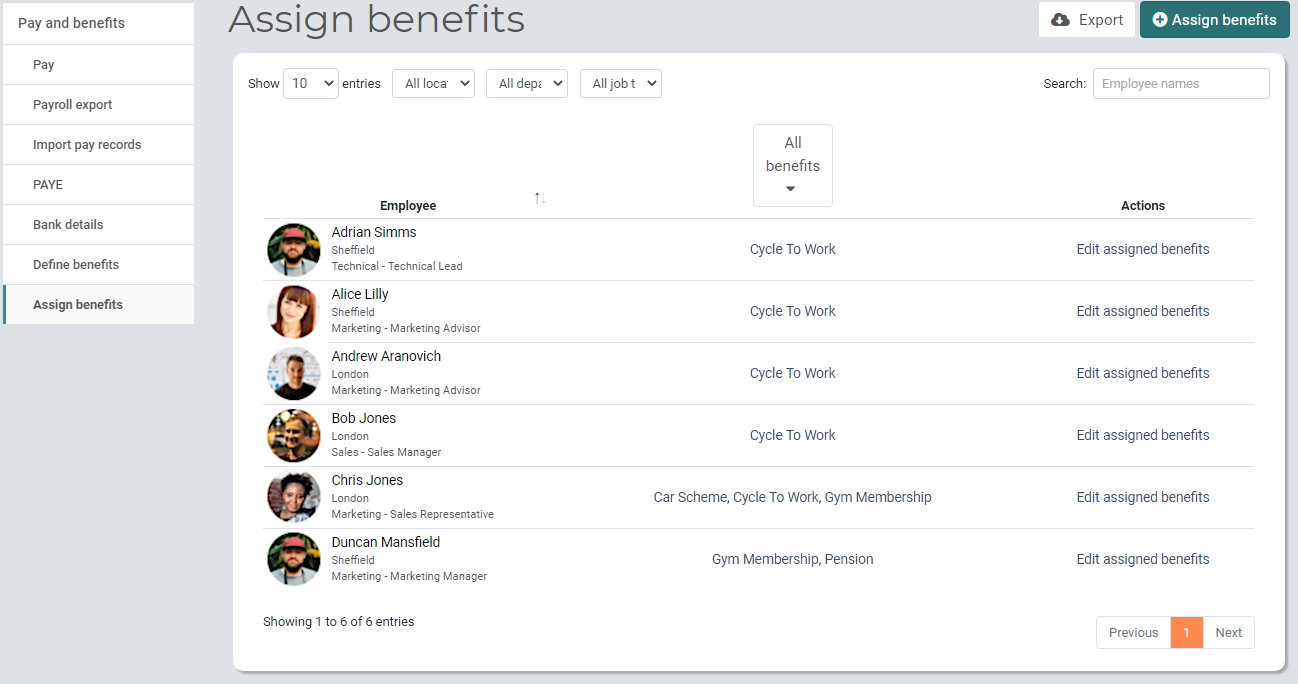
The simplest method of assigning benefits is via the Bulk assign benefit button in the top right of the page.

Note – familiarity with this procedure's behaviour will help with almost all aspects of the benefit assignment functions.
Clicking the ‘Edit assigned benefits’ button to the right of an employee shows the benefits assigned to them. Using the Actions button on this new page allows you to edit or delete the employee’s assigned benefits.
The Add Benefit button in the top right allows a benefit to be added, and follows a subset of the pattern used in the Bulk assign benefit procedure mentioned above.
Back at the main Assign benefits page, each benefit name is also a link which, when clicked, will list all the employees you manage that have the selected benefit assigned to them, along with the details of the benefit’s assignation. Using the Actions link at the right hand side of a row, the dates of the assignment of the benefit can be edited and updated.
There is also a button at the top right of the page, Bulk assign this benefit, which operates in a similar matter to the Bulk assign benefit procedure above.

 Holiday Planner
 Absence Management
 Performance Management
 Staff Management
 Document Management
 Reporting
 Health and Safety Management
 Task Management
 Security Centre
 Self Service
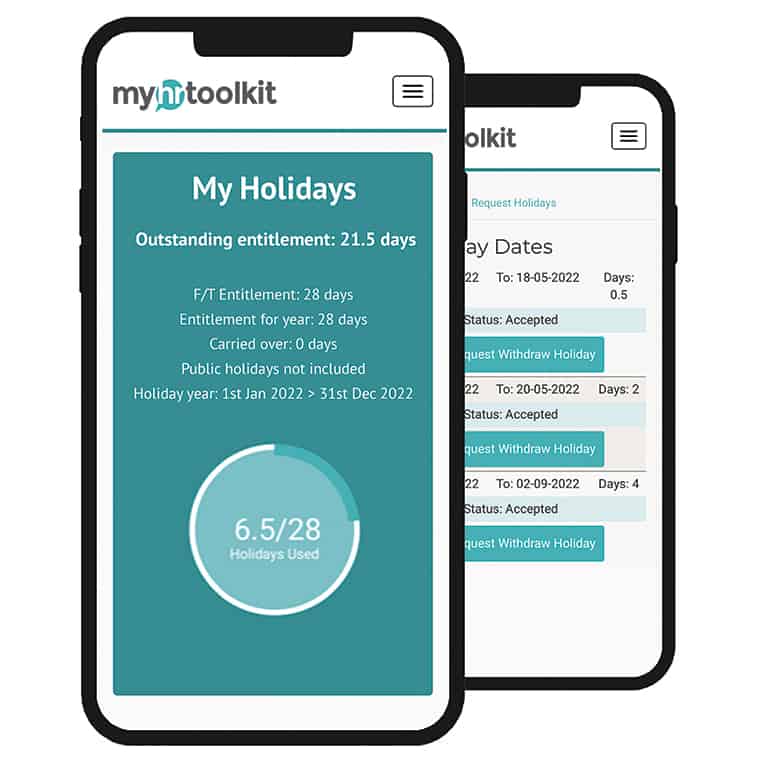 Mobile