This guide walks you through the process of a first login to your myhrtoolkit system, setting up, and 'going live.'
Firstly, you will need to complete a 'new client form' to provide the details required to get your myhrtoolkit up and running.
Once this is complete, you will receive an email link to your newly created system, ready for you set up. This will be followed by an official welcome email with payment details.
An Outline of what happens when you first log on to a new myhrtoolkit installation is available in the "Log In" section of the "Initial Setup guide."
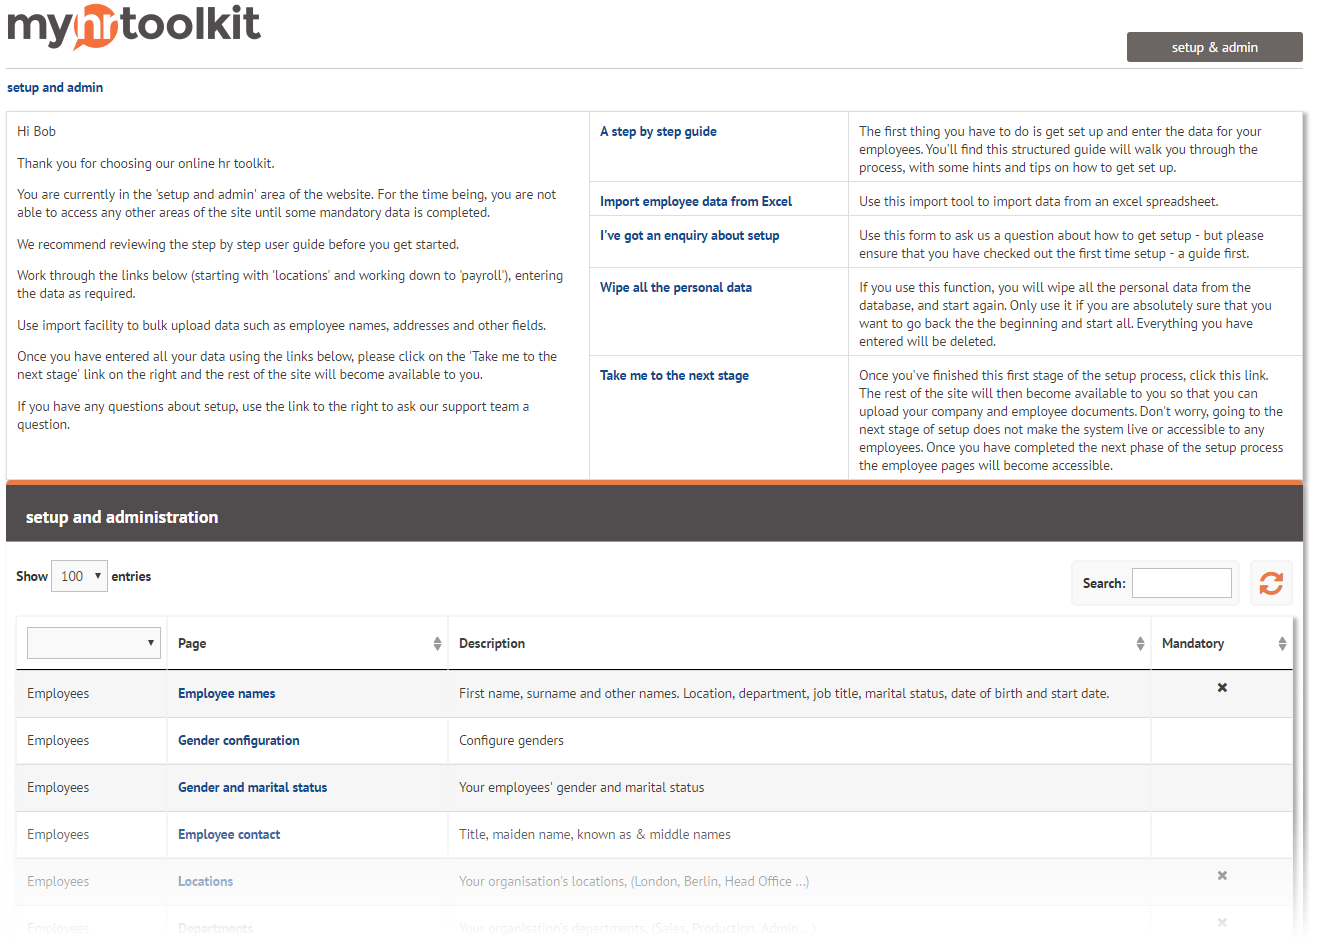
When you have first logged into your system, it will be in 'Setup' mode where there are two stages.
Stage 1 requires you to upload user details and sufficient information to enable the system to function. To assist we provide an automated upload spreadsheet where you can import much of your existing data. You will only be able to advance when you have added the required mandatory information.
Stage 2 allows you to include the level of optional information you wish, before making your system fully live to your organisation. This might include documents, previous sickness and holiday records for example.
There is a guide offering thoughts on successfully planning the set up and roll out of your new myhrtoolkit, in particular focussing on what you might consider before making a start. See the Guide to Planning Setup.
Once you are ready to give access to your users you can choose to 'go live' either sending everyone an automated email containing their login and password, or by printing off a list of logins and one time passwords to be issued directly.
Note – If your installation is being set-up for you by an external provider, they will not be able to take your system live until you have logged in and accepted the terms and conditions.
The outline process is...
Additional documentation helping with uploading/importing your data can be found in the Guide to Importing Data.
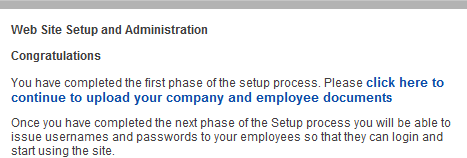

You can now continue to set-up Stage 2.
In Stage 2 you can add documents, or allow users onto the system, known as Broadcast. If you choose to broadcast, you will still be able to add documents later.
myhrtoolkit has provision for a wide range of document types, including:
A guide for uploading and managing your document library can be found in the Managers'/Controllers' Document Library FAQ.

Note – technically everyone is 'live,' but only those to whom emails were sent will be aware of the fact.
How to allow only a limited number of people access, perhaps key managers, to give them an opportunity to get to grips with the new HR tool.
Notes The above option can be used with an already live system. If someone is showing as 'Give access' within Config > Access rights > System access, but has yet to receive their login details, you will first need to change them to 'No access' and press submit. You can then follow the above. In order to create managers in the 'initial set up' stage, the individual must be set to 'Give Access' within Config > Access rights > System access. Links sent to users giving access to the system are time limited and will expire after seven days.

 Holiday Planner
 Absence Management
 Performance Management
 Staff Management
 Document Management
 Reporting
 Health and Safety Management
 Task Management
 Security Centre
 Self Service
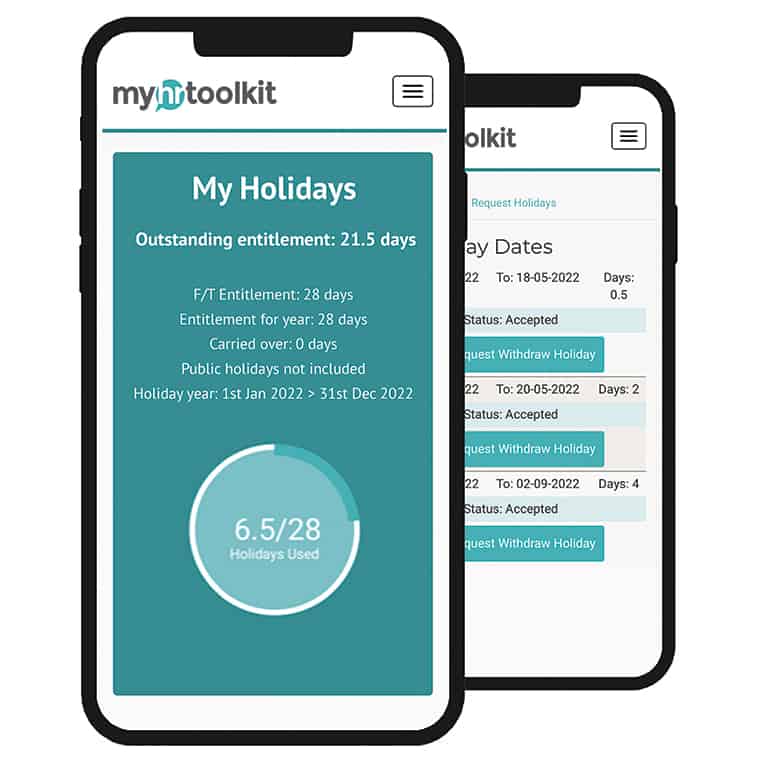 Mobile